 how-to
7 Steps to Flush Transmission Fluid Yourself
Last Updated: October 27, 2026
Quick Summary
A transmission fluid flush exchanges most of the old fluid for new, replacing up to 95% according to Castrol, while a drain and fill replaces roughly half. For most DIYers, Castrol notes a drain and fill will do the trick, making it the safer first move on a neglected transmission.
- Many Japanese automakers list transmission inspection or replacement between 30,000 and 60,000 miles under normal use.
- A typical passenger automatic holds roughly 7 to 12 quarts, while the pan drain releases only about 3 to 6.
- Disconnect the return cooler line so the transmission pulls fresh fluid from the pan, not pushes it out.
- Shut the engine off when flow sputters, since sputtering means the pump is already pulling air.
- Most post-service problems show up in the first 20 miles, so plan a short, gentle test drive.
Table of Contents
- Transmission Fluid Flush vs. Drain and Fill: Which One Do You Need?
- Transmission Fluid Change Interval: When to Service Your Japanese Car
- Transmission Flush Tools and Supplies You'll Need
- Step 1: Prepare the Car and Locate the Fill and Drain Points
- Step 2: Drain the Old Fluid and Replace the Filter
- Transmission Flush Without a Machine: The Cooler-Line Method
- Transmission Fluid Drain and Fill: Refilling to the Correct Level
- Troubleshooting and Post-Flush Checks
- Frequently Asked Questions
Transmission Fluid Flush vs. Drain and Fill: Which One Do You Need?
Before you buy tools to flush transmission fluid yourself, decide whether your car needs a flush or a drain and fill.
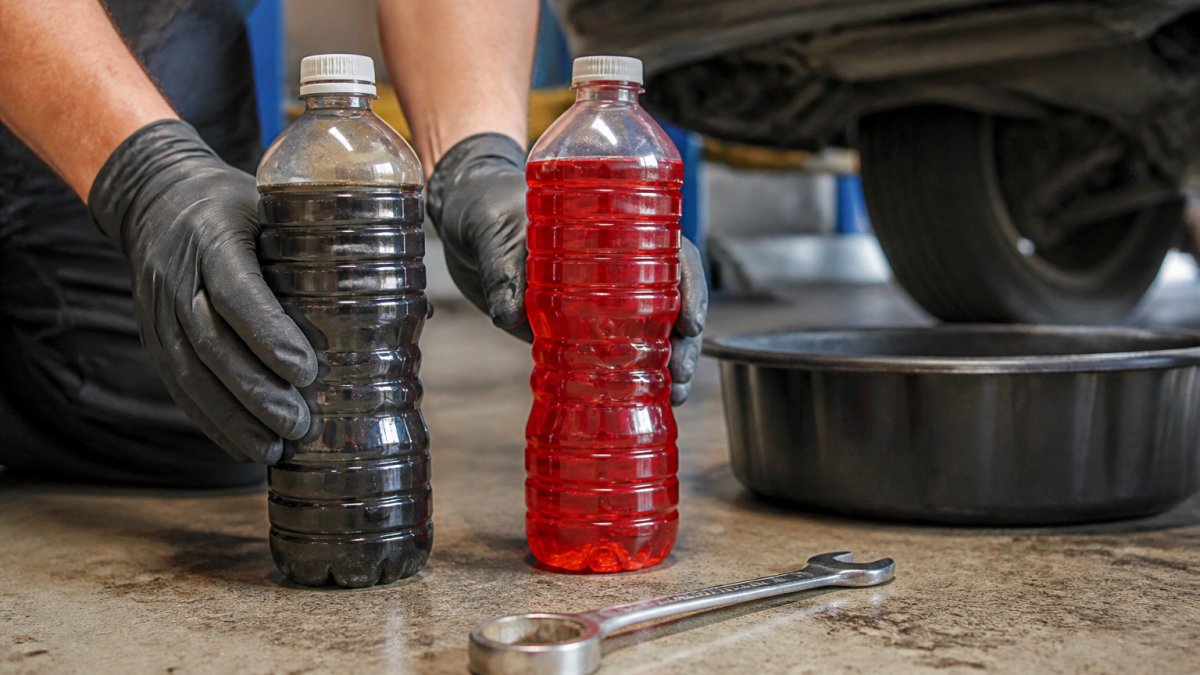
A transmission fluid flush is a service that exchanges most of the old fluid for new fluid, usually by pumping fresh fluid through the system while the old fluid exits.
Here is the honest split. According to Castrol's guidance on transmission service, a flush replaces up to 95% of the old fluid, while a drain and fill replaces roughly half.
What a Flush Replaces vs. What a Drain and Fill Leaves Behind
A drain and fill leaves fluid trapped in the torque converter, cooler lines, and valve body, so the pan only gives up part of the total capacity. A flush moves fluid through those passages, so more old fluid comes out, good on a healthy transmission, risky on a neglected one.
For a deeper comparison of the two services, see our guide on flush vs drain and fill.
Transmission Fluid Change Interval: When to Service Your Japanese Car
Your owner's manual is the only schedule that counts.
Fluid condition tells you more than mileage does. Pull the dipstick, if your car has one, and check color and smell.
- Red or pinkish: healthy, keep monitoring
- Brown or dark: due for a change
- Black with a burnt smell: change it now and watch for slipping
Speedy Roo Motorsports provides maintenance and repair for Subaru, Toyota, Honda, Nissan, Mazda, Mitsubishi, Lexus, Acura, and Infiniti vehicles. For a brand-by-brand breakdown, read our guide on how often to change transmission fluid.
Transmission Flush Tools and Supplies You'll Need
Gather everything before you raise the car, a missing hose clamp mid-flush stalls the job.
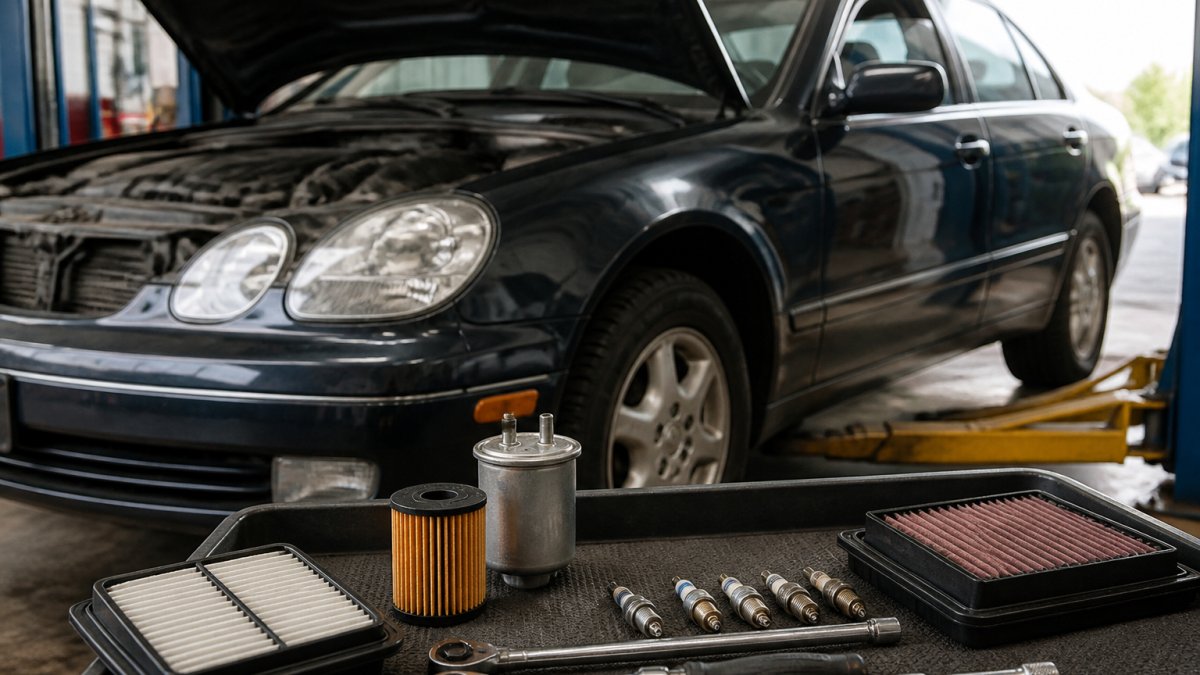
- Jack and jack stands, or ramps
- Wheel chocks
- Safety glasses and nitrile gloves
Buy the fluid by specification, not by color. "Universal" fluid is a gamble on a modern automatic. Check the API's engine and drivetrain lubricant standards for how fluid categories are defined, then match the manual's callout exactly.
Step 1: Prepare the Car and Locate the Fill and Drain Points
Park on level ground, set the parking brake, chock the wheels, and support the raised front end on jack stands. Never work under a car held up only by a jack.
Now find three things:
- The fill port. Often on the side of the transmission case, sometimes reached through the engine bay. Many newer cars have no dipstick at all.
- The drain plug. A bolt on the bottom of the pan, usually with a crush washer.
- The pan bolts. Count them and note the pattern before you touch anything.
Watch out: on sealed transmissions with no dipstick, the fill port is also the level check. If you cannot get that plug loose before draining, stop. Draining first leaves you with an empty transmission and no way to refill it.
Step 2: Drain the Old Fluid and Replace the Filter
Set the drain pan under the plug and crack the fill port loose first, just a turn. That single habit saves you from a dry transmission. Then remove the drain plug and let the old fluid run out.
- Let it drain fully, then reinstall the plug with a new crush washer
- Loosen the pan bolts in a cross pattern, working from the outside in
- Lower the pan carefully, it will still hold fluid
Torque specs vary by model, so look yours up. Overtightened pan bolts crush the gasket and cause leaks.
Transmission Flush Without a Machine: The Cooler-Line Method
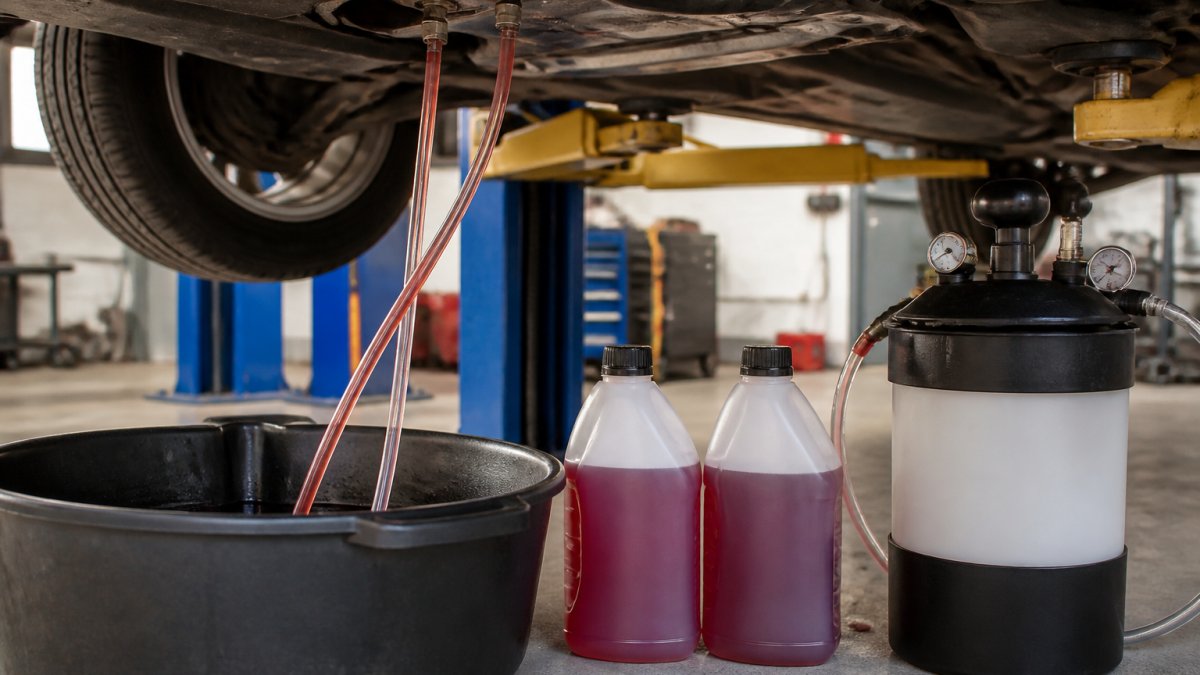
A transmission flush without a machine uses the transmission's own pump to push old fluid out through a cooler line while you add fresh fluid at the fill port.
Know Your Total Capacity Before You Start
Look up total transmission fluid capacity in your owner's manual or factory service information. Keeping a precise record of these volumes ensures that your automatic transmission maintenance remains consistent with the long-term health of the internal components.
The math is simple: each quart you add dilutes the remaining old fluid. On a 10-quart system, roughly 90% is still old after one quart, 59% after five, and 35% after ten.
Identify the Return Line Correctly
There are two cooler lines: a pressure line sending hot fluid to the cooler, and a return line sending cooled fluid back. Disconnect the return line at the radiator or auxiliary cooler and route it into your container, so the transmission pulls fresh fluid from the pan rather than pushing it out. If unsure which is which, disconnect one line, aim it into a container, and have a helper bump the engine for two seconds, fluid should pulse from the pressure side.
The Exchange Sequence, Step by Step
- Park on level ground, set the parking brake, chock the wheels, and support the car on jack stands. The transmission must be at normal operating temperature for accurate flow and level checks.
- Disconnect the return cooler line and clamp clear tubing to it, aiming the open end into a marked container such as a clear gallon jug with quart markings.
- Have a helper start the engine and shift briefly through the gears, then leave it in Park or Neutral as your procedure specifies. Fluid will flow into the container.
- When roughly one quart has come out, shut the engine off. Do not wait for the flow to sputter; sputtering means the pump is already pulling air.
- Add exactly one quart of the specified fluid through the fill port.
- Repeat the start-stop-add cycle, keeping a tally on the tape.
- Stop when the fluid leaving the line is close in color to the new fluid, or when you have cycled through the total capacity. Reconnect the return line and torque the fitting to spec.
Stop Criteria and the Dry-Pump Rule
The stop criteria are three measurable conditions:
- Volume matched: the number of quarts added equals the number of quarts removed, and you have reached your planned exchange volume.
- Color matched: the fluid in the clear tubing is close to the color of the fresh fluid on a white paper towel.
- Flow change: the flow at the line slows or begins to sputter. Shut the engine off immediately; this is the emergency stop, not a normal stopping point.
A common mistake is letting the engine idle while a helper adds fluid, the pump moves faster than a funnel can pour, and the pan can run dry between pours. The start-stop-add cycle is slower but safer.
What This Method Does Not Do
The cooler-line exchange does not clean the pan, replace the filter, or remove debris settled in the pan. If your plan includes a filter, do the pan drain and filter first, then the cooler-line exchange. It also does not suit every transmission: sealed units with a fluid-level check plug, CVTs, dual-clutch transmissions, and some modern automatics with a thermostatic cooler bypass can trap fluid or require a scan-tool-controlled procedure.
Transmission Fluid Drain and Fill: Refilling to the Correct Level
Refill slowly through the fill port with the manual-specified fluid. Add roughly what you drained, then check.
On cars with a dipstick, run the engine, cycle the gears, and check the level at operating temperature. On sealed units, check at a specific fluid temperature with the engine running; fluid dribbles from the fill hole when the level is right.
- Add in small amounts, a half quart at a time
- Cycle gears between checks
- Never overfill, it foams and shifts poorly
For a full walkthrough of the refill sequence, our DIY transmission fluid change guide covers the level check in detail.
Troubleshooting and Post-Flush Checks
Most post-service problems show up in the first 20 miles, so plan a short, gentle test drive before calling the job done. If you are unsure whether you added too much, review the symptoms of overfilled transmission fluid before your test drive.
The First 20 Miles: A Measurable Check Sequence
- Start in Park with the engine running. Idle two minutes, shift through each gear and back to Park, and listen for delayed engagement or a clunk.
- Check for leaks before driving. Look under the pan, drain plug, and every cooler-line fitting you touched. A single red drip is a re-torque, not a wait-and-see.
- Drive gently for 10 miles. Avoid wide-open throttle and note shift quality on the 1-2 and 2-3 shifts, usually the first to show low fluid.
- Recheck the fluid level per the manual's procedure for your dipstick or sealed unit; a scan tool that reads transmission fluid temperature makes this repeatable.
- Recheck for leaks after the drive. Heat expands seals and fittings, so a leak that didn't show cold may show hot.
Symptom, Cause, and Next Step
| Symptom | Likely Cause | What to Do |
|---|---|---|
| Red drips under the car | Pan gasket, drain plug, or cooler-line fitting leak | Re-torque to spec, replace the crush washer or gasket, recheck hot |
| Slipping or hesitation on acceleration | Fluid level low, wrong fluid spec, or air in the system | Check level per the manual, confirm the fluid part number, recheck after 10 miles |
| Harsh or delayed shifting | Overfilled, wrong fluid friction modifier, or a filter installed incorrectly | Correct the level, confirm the filter orientation, recheck |
| Burnt smell returns within 500 miles | Internal wear or overheating, not the fluid itself | Diagnose before more service; a second flush will not fix a mechanical fault |
| Foamy or milky fluid | Water or coolant intrusion, or a severe overfill | Stop driving, diagnose the cooler circuit or fill level before servicing again |
| Whine or hum that follows engine speed | Pump cavitation from low fluid or a restricted filter | Stop, check level and filter, do not continue driving |
The Wrong-Fluid Trap
A common mistake is topping off with whatever automatic transmission fluid is on the shelf to "get it drivable." If you would rather hand the job to a shop, compare the cost of professional transmission fluid service against your DIY parts list. Modern automatics use specific friction and viscosity specs, and the wrong fluid changes clutch engagement. Confirm the part number against the owner's manual or dealer parts counter; if the wrong fluid is in the unit, a professional exchange is safer than a second DIY attempt.
When a Flush Makes Things Worse
High-mileage transmissions that have never been serviced deserve caution. If the car already slips, flares on shifts, or has a burnt smell, a full exchange can dislodge debris and reduce the friction worn clutches rely on. A drain and fill plus a filter is the conservative call, with a diagnostic scan first. The same caution applies to CVTs, dual-clutch units, and sealed transmissions with a fluid-level check plug, some require a scan-tool-controlled fill a driveway exchange cannot replicate.
Post-Service Record Keeping
Record the date, mileage, fluid part number, quarts added and removed, and filter part number. If a problem appears later, that record tells a shop whether the service is a suspect or a coincidence, and it sets your next interval based on your own driving pattern.
Frequently Asked Questions
Is it easy to flush your transmission fluid yourself?
It's doable for a confident DIYer, but not a beginner job. A drain and fill is the easier entry point: you remove the drain plug, drop the pan, swap the filter, and refill. A full transmission fluid flush, especially the cooler-line method, adds steps like disconnecting a cooler line, cycling through gears, and watching fluid level closely. You'll need jack stands, a drain pan, the correct fluid specification from your service manual, and a plan for disposing of used fluid.
Can I flush transmission fluid without a flushing machine?
Yes. The common machine-free approach is the cooler-line method: disconnect the transmission cooler return line, route it into a drain pan, start the engine, and let the transmission pump push old fluid out while you add fresh fluid. Castrol notes a flush can replace up to 95% of old fluid, compared with about half for a drain and fill. Stop the engine as soon as the fluid runs clean or you hit the specified volume, and never let the pan run dry.
What is the number one killer of transmission fluid?
Heat. Stop-and-go commuting, towing, and low fluid levels all raise transmission temperatures, and sustained heat breaks down the fluid's friction properties and additives. That's why the transmission fluid change interval matters more than the calendar: severe-service driving (short trips, traffic, mountain grades) calls for shorter intervals. Check your owner's manual for the severe-service schedule, and check fluid condition and level regularly between services.
Is a transmission fluid drain and fill better than a flush?
It depends on your goal. A drain and fill replaces roughly half the fluid and is gentler on high-mileage transmissions that have never been serviced. A flush replaces up to 95% and is better for maintenance on a healthy transmission. Castrol states a drain and fill will do the trick for most DIYers. If your car shifts fine and you just want fresh fluid, start with a drain and fill; if you want a fuller exchange, use the cooler-line method carefully or have a shop do it.