 listicle
DIY Honda Oil Change Benefits: Save Money & Protect Warranty
Table of Contents
- Why DIY Honda Oil Change Benefits Your Wallet and Your Engine
- Your DIY Oil Change Tools List for a Honda
- Honda Warranty Oil Change Requirements: What You Must Know
- How to Dispose of Used Motor Oil the Right Way
- Step-by-Step: A Safe DIY Honda Oil Change
- Common Mistakes That Cost You Time and Money
- When to Hand the Job to a Professional
- Frequently Asked Questions
Last Updated: September 27, 2026
Why DIY Honda Oil Change Benefits Your Wallet and Your Engine
A DIY Honda oil change means draining and replacing your motor oil and filter yourself instead of paying a shop. Done right, with the correct oil, filter, and torque specs, it protects your powertrain, cuts long-term maintenance costs, and builds a service history that supports your warranty.
Cost Savings vs. Dealership Service
The math favors DIY, but not by as much as most people assume. The real savings come from skipped labor and choosing your own oil and filter.
Engine Wear and Longevity
Fresh oil is the cheapest insurance your engine has. Motor oil lubricates, cools, and cleans all at once, and it degrades as it works.
Your DIY Oil Change Tools List for a Honda
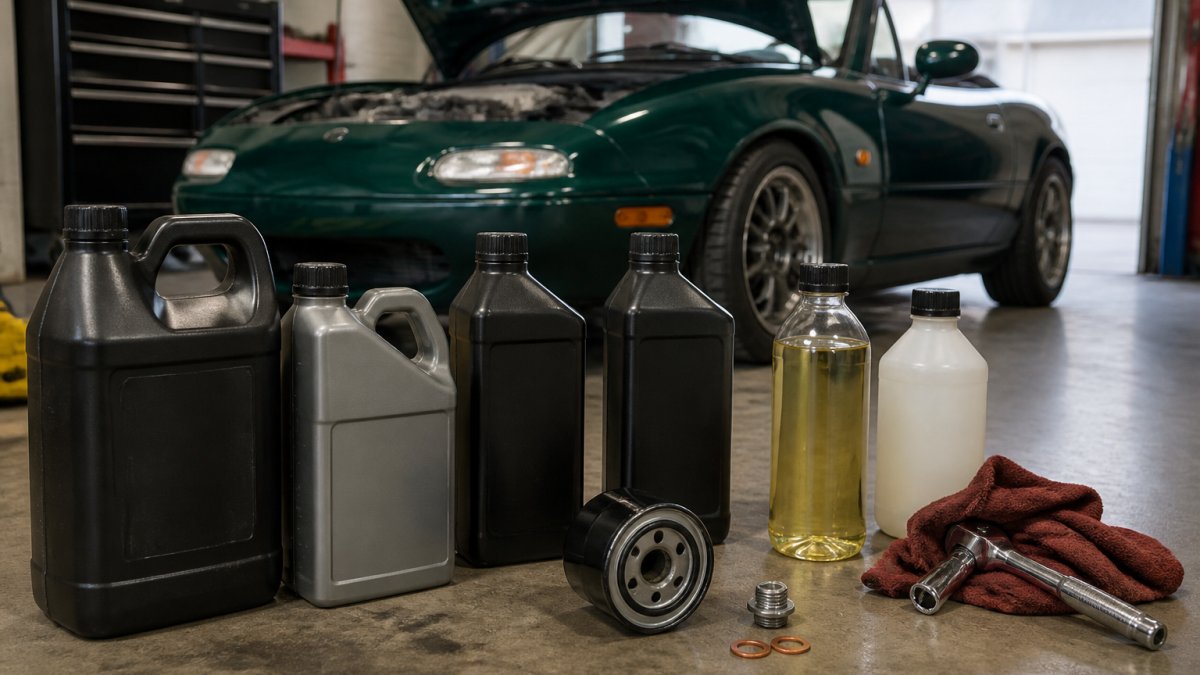
A complete DIY oil change tools list for a Honda is smaller than most people expect: ramps or jack stands, a drain pan, a socket set, a torque wrench, an oil filter wrench, a funnel, gloves, and the oil and filter. Buy safety gear first, upgrades later.
Essential Tools and Supplies
Start with these to safely complete the job on most Honda models:
- Vehicle ramps or jack stands for safe elevation. RhinoGear RhinoRamps carry a 12,000 lb GVW rating and use a non-skid base, a solid choice for sedans and SUVs.
- A high-capacity drain pan. The Oil Safe 5-Quart Drain Pan has an integrated pour spout for mess-free transfer to a recycling container.
- A socket set sized for your drain plug, plus a crush washer for the plug. Replace the washer every time.
- A torque wrench. The TEKTON 1/2-Inch Drive Click Torque Wrench tightens the drain plug to the exact manufacturer specification instead of guessing.
- An oil filter wrench. The Lisle 17100 Oil Filter Wrench adjusts from 2-1/2 to 3-1/8 inches and works with a 3/8-inch ratchet, which helps in tight engine bays.
- Oil and filter. Honda Genuine Motor Oil (0W-20) runs about $7 to $10 per quart, and a Honda Genuine Oil Filter runs about $8 to $12.
- A funnel and nitrile gloves. The OEMTOOLS 24937 Oil Funnel threads into the fill port to prevent spills, and nitrile gloves keep used oil off your skin.
Optional Upgrades That Make the Job Easier
Two upgrades are worth considering once you know you'll keep doing this yourself.
| Tool | Typical Price | Why It Matters |
|---|---|---|
| RhinoGear RhinoRamps | $50-$70 | Safe, stable elevation for most Hondas |
| TEKTON Torque Wrench | $40-$60 | Prevents stripped oil pan threads |
| Lisle 17100 Filter Wrench | $10-$15 | Removes stubborn filters in tight bays |
| Fumoto Drain Valve | $30-$40 | Tool-free draining, no plug threads to damage |
| Oil Safe Drain Pan | $15-$25 | Clean capture and easy recycling transport |
| OEMTOOLS Oil Funnel | $10-$15 | Prevents spills at the fill port |
Honda Warranty Oil Change Requirements: What You Must Know
Honda warranty oil change requirements do not force you to use a dealership. Federal law protects your right to do your own maintenance or use an independent shop, as long as you follow the specified oil grade and intervals and keep records proving it.
Magnuson-Moss and Your Right to DIY
The Magnuson-Moss Warranty Act is the federal law that governs how warranties can be conditioned on maintenance. Under it, a manufacturer cannot void your warranty simply because you performed your own oil changes or used aftermarket parts. The Federal Trade Commission's guidance on auto warranties explains that a dealer can only deny coverage if your actions or parts actually caused the failure.
Documentation That Protects Your Coverage
Records are your defense. If a warranty claim comes into question, you want a paper trail showing consistent, spec-correct maintenance.
Keep the following for every service:
- Date and odometer reading at the time of the change
- Oil brand, viscosity, and the API or ILSAC certification on the bottle
- Filter part number and brand
- Receipts for oil and filters, which prove the purchase and the spec
- A photo of the odometer and the oil bottle label, which takes ten seconds and settles most disputes
How to Dispose of Used Motor Oil the Right Way
Used motor oil is regulated waste, and dumping it is illegal in most states. Capture it in a sealed container and take it to an auto parts store, recycling center, or municipal household hazardous waste facility.
Recycling Options and Legal Rules
Most auto parts retailers accept used oil free of charge, and many municipalities run household hazardous waste collection days. Check local rules before assuming curbside pickup will take it, because most programs won't.
Practical rules for handling it:
- Never mix used oil with antifreeze, brake fluid, or solvents. Contaminated oil may be refused at collection sites.
- Use a container with a tight-sealing lid, not an open pan.
- Label the container clearly as used oil.
- Transport it upright and secured so it cannot tip in your trunk.
Step-by-Step: A Safe DIY Honda Oil Change
Total Time: 45-60 minutes for a first-timer, 30 minutes once you know your car Difficulty: Beginner
Preparation and Safety
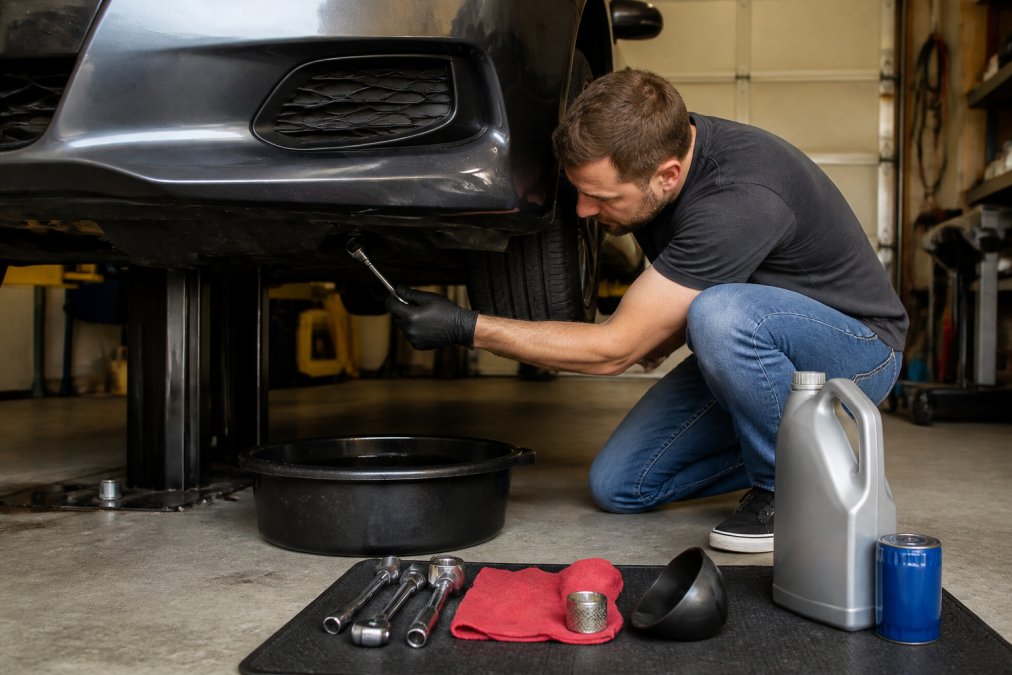
What you'll need: new oil in the correct viscosity, a new filter, a new crush washer, ramps or jack stands, a drain pan, sockets, a torque wrench, a filter wrench, a funnel, and gloves.
- Park on a level surface and set the parking brake.
- Run the engine for two to three minutes, then shut it off. Warm oil drains faster and carries more contaminants out with it.
- Elevate the front of the car on ramps or jack stands. Never work under a car supported only by a jack.
- Open the hood and remove the oil fill cap so the oil drains smoothly.
Draining, Replacing, and Refilling
- Position the drain pan under the drain plug, then remove the plug with your socket. Expect a strong initial flow and let it drain fully.
- Inspect the old crush washer and replace it. This is a one-use part.
- Move the pan under the filter housing and remove the filter with the filter wrench. Check that the old gasket came off with it.
- Wipe the filter mounting surface clean, lubricate the new filter's gasket with a dab of fresh oil, and thread it on by hand until it seats, then snug it about three-quarters of a turn.
- Reinstall the drain plug with the new crush washer and torque it to the manufacturer specification. This is where the torque wrench earns its place.
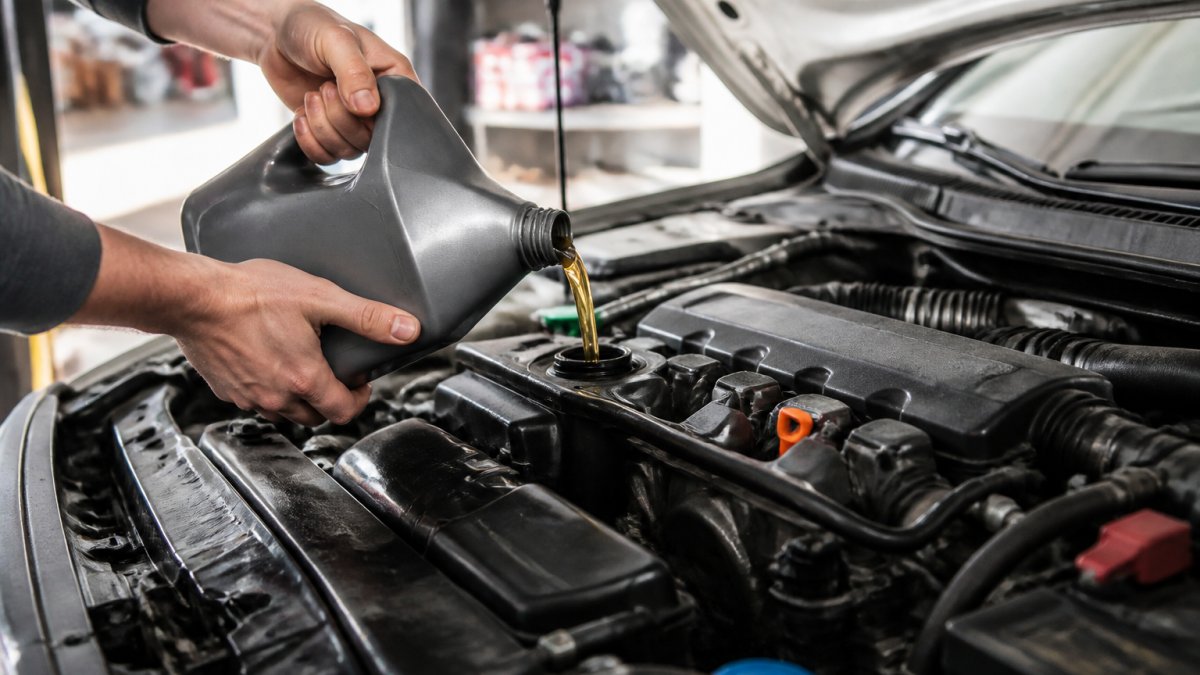
- Pour in the specified amount of oil through the funnel, wait a minute, then check the dipstick. Add in small increments until you reach the correct level.
- Run the engine for a minute and watch for leaks at the plug and filter. Shut it off, let it settle, and recheck the level.
- Reset the Maintenance Minder according to your owner's manual procedure.
Expected Result: No drips under the car after a short run, oil at the correct mark on the dipstick, and a reset oil life display.
Common Mistakes That Cost You Time and Money
The mistakes that hurt are almost always about torque and fitment, not technique. Over-tightening the drain plug strips oil pan threads, turning a simple job into a pan replacement; under-tightening causes a slow leak that can drain your engine over weeks.
Other frequent errors:
- Forgetting the crush washer. Reusing a flattened washer causes seepage at the plug.
- Double-gasketing the filter. If the old filter's gasket sticks to the block and you install a new filter over it, you get a guaranteed leak.
- Guessing at oil quantity. Overfilling aerates the oil and can push past seals. Fill in increments and check the dipstick.
- Using the wrong viscosity. The viscosity printed on your oil cap is not a suggestion. It's what the engine was designed around.
- Skipping the leak check. A two-minute idle after refilling catches almost every mistake before it becomes a tow.
When to Hand the Job to a Professional
DIY isn't always the right call. Some situations need a lift, a diagnostic scan, or experience you may not have yet.
Hand it to a shop when:
- The drain plug is already stripped or seized
- You can't safely elevate the vehicle where you live
- Your Honda is due for other scheduled services at the same interval
- You notice metal debris or a milky tint in the drained oil, which points to a larger problem
- You drive a newer model with underbody panels that require specific removal sequences
Frequently Asked Questions
Is a DIY oil change worth it for a Honda?
For many owners, yes. You control the quality of oil and filter, avoid dealership markups, and learn more about your car. The main trade-offs are time, initial tool cost, and safe oil disposal. If you drive a Honda with a Maintenance Minder system, DIY lets you reset it yourself and track intervals precisely. For high-mileage or complex engines, a professional may still be the better call.
Does changing your own oil void your Honda warranty?
No. Under the Magnuson-Moss Warranty Act, a manufacturer cannot void your warranty simply because you performed your own maintenance. However, Honda can deny a claim if they prove the failure was caused by incorrect oil, a wrong filter, or improper procedures. Keep receipts for oil and filters, note the date and mileage, and follow the owner's manual's viscosity and service interval requirements.
What tools are required for a standard Honda oil change?
A basic DIY oil change tools list includes a floor jack and jack stands or ramps, a socket set with the correct drain plug size, an oil filter wrench, a torque wrench, a drain pan, a funnel, nitrile gloves, and shop rags. You'll also need the right oil (often 0W-20 for many Hondas), a new crush washer, and an OEM or high-quality filter. A torque wrench helps prevent stripped threads.
How do you properly dispose of used motor oil?
Pour used oil into a sealed container, like the original jug or a dedicated drain pan with a spout. Never mix it with antifreeze, brake fluid, or solvents. Most auto parts stores and municipal recycling centers accept used oil for free. Some cities have curbside pickup or household hazardous waste events. Recycling one gallon of oil can produce about two gallons of re-refined lubricant, so it's worth the trip.