 how-to
Common Honda Civic Engine Oil Leak Symptoms to Watch For
Quick Summary
Common oil leak symptoms in a Honda Civic include dark spots or puddles under the car, oil on the outside of the engine near the valve cover, a burning smell after driving, and a dipstick reading lower than normal between oil changes. A driveway check with cardboard and a flashlight can help you spot these signs early.
- Place clean cardboard under the engine overnight and check it in the morning for dark spots.
- Fresh engine oil is amber to dark brown and slick, while coolant is often green, orange, or pink and smells sweet.
- Clean the engine before a short drive so fresh oil shows exactly where the leak starts.
- Stop driving and arrange a tow if the oil pressure warning light stays on or the dipstick reads low.
- Valve cover gasket repairs are typically less costly than rear main seal repairs, which often require transmission removal.
Table of Contents
- Oil Leak Symptoms You Can Spot From the Driveway
- Dark Spots and Puddles Under the Car
- Honda Civic Oil Leak Causes by Location
- Honda Civic Oil Leak Passenger Side: Where to Look First
- Honda Civic Oil Leak Diagnosis: A Step-by-Step Check
- Is It Safe to Drive with an Oil Leak, and What Repairs Cost
- Booking Your Oil Leak Inspection at Speedy Roo Motorsports
- Frequently Asked Questions
Oil Leak Symptoms You Can Spot From the Driveway
Last Updated: November 6, 2026
Oil leak symptoms in a Honda Civic often show up before any warning light does. Many owners first notice a dark spot in the driveway, a burning smell after a drive, or a dipstick that reads low between oil changes. Catching these signs early can help keep repairs smaller.
Walk around the car and check a few things:
- Dark spots or puddles under the engine
- Oil on the outside of the engine, especially near the valve cover
- A burning smell after driving
- Blue or gray smoke from the engine bay
- Oil level dropping faster than normal
- A warning light on the dash
Each of these can point to a leak, but none proves one on its own. Oil can also come from a loose oil filter or a recent oil change. Look for patterns over several days instead of guessing from one spot.
Dark Spots and Puddles Under the Car
Dark spots under a parked car are the most common clue. Place a piece of clean cardboard under the engine overnight. Check it in the morning.
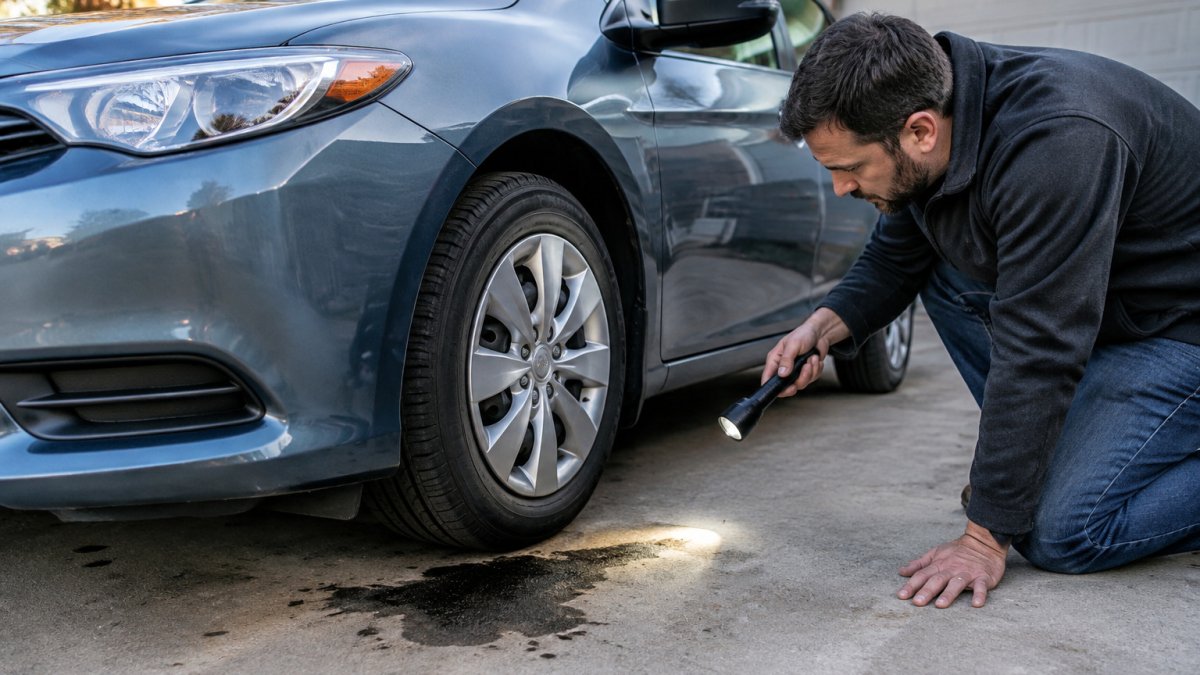
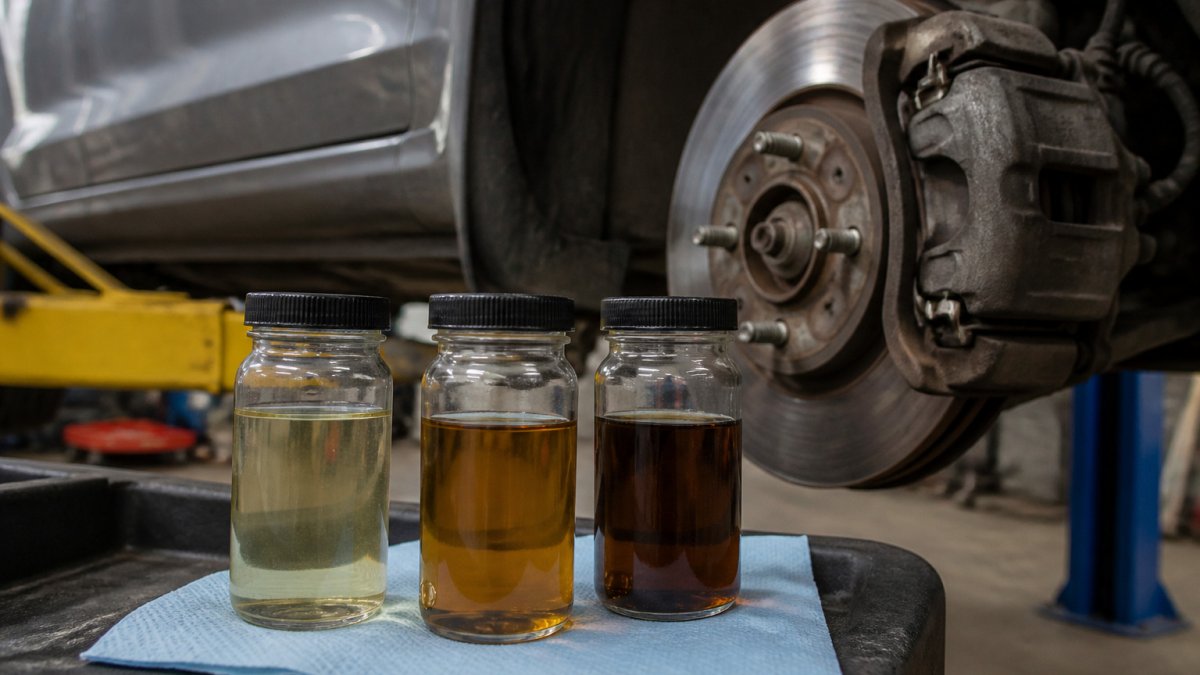
Fresh engine oil is amber to dark brown and slick to the touch. Old oil looks almost black and gritty. Water from the air conditioner is clear and has no smell. Brake fluid is clear to yellow and feels thin. Coolant is often green, orange, or pink and smells sweet.
Where the spot sits matters. A spot near the front of the engine often points to the front seals or the oil pan. A spot toward the middle may come from the valve cover or a gasket nearby. Drips that appear only after the car is parked often come from higher up, because the oil runs down before it falls.
Honda Civic Oil Leak Causes by Location
Most Civic oil leaks come from a few common spots. Gaskets and seals wear out over time, and heat cycles make them harden and shrink.
- Valve cover gasket: Oil seeps along the top of the engine. The smell often shows up first.
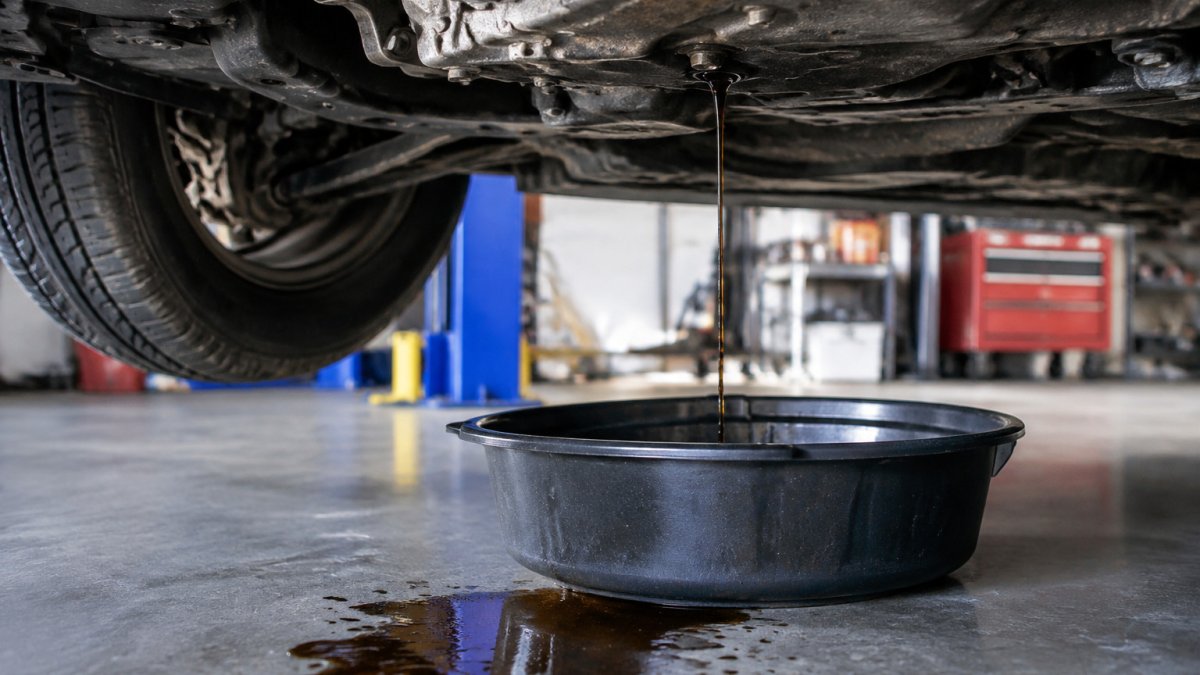
- Oil pan gasket: Oil drips from the bottom of the engine. Spots often appear under the middle of the car.
- Crankshaft seals: Leaks at the front or rear of the engine. These can be harder to see and may reach the transmission area.
- Oil filter or drain plug: A loose part can drip right after an oil change.
Not every leak needs the same repair. A valve cover gasket is often a moderate job. A rear main seal can take much longer because the transmission may need to come out. A shop can check the leak source and give you an estimate before any work starts.
Honda Civic Oil Leak Passenger Side: Where to Look First
Many owners notice oil on the passenger side first. Start by looking at the valve cover area near the top of the engine, since oil often runs down the side of the block from there.
Use a flashlight and look for wet, dark areas on the engine block. Check the area around the oil filter, which sits on the passenger side on many Civic engines. Oil that sprays or collects near the filter can point to a loose filter or a seal behind it.
A common mistake is wiping the engine clean and driving off. Clean the engine first, then check again after a short drive. Fresh oil will show exactly where it starts.
Honda Civic Oil Leak Diagnosis: A Step-by-Step Check
A basic driveway check takes about 30 minutes and needs only a few tools: a flashlight, clean cardboard or a drip tray, nitrile gloves, and a rag. If a warning light is on too, start with the scanner-based steps in Honda Check Engine Light Diagnosis: What to Do First.
Step 1, Confirm it is engine oil, not another fluid. Engine oil is amber to dark brown when fresh and nearly black when used, feels slick between the fingers, and has a distinct petroleum smell. Because red or reddish-brown fluid points away from engine oil, identifying transmission fluid leaks helps keep the diagnosis focused on the correct system.
Step 2, Note the drip location and timing. Place clean cardboard under the engine overnight and mark the front of the car on the cardboard so you can orient the spots.
Step 3, Check the dipstick and note the level. Park on level ground, shut the engine off, wait a few minutes, wipe the dipstick, reinsert it fully, and read the level. Record the mileage.
Step 4, Clean the engine so fresh oil is visible. Degrease the valve cover, the front and sides of the block, the oil pan, and the area around the oil filter, then let it dry.
Step 5, Run a short drive and recheck. Drive about 10 minutes, park on the cardboard again, and inspect with a flashlight while the engine is still warm but off. Look for the highest wet point on the engine, that is closer to the source than the drip at the bottom. Check the valve cover seam, the oil filter base, the drain plug, the pan-to-block seam, and the rear of the block near the transmission bellhousing.
Step 7, Verify the repair. After any gasket or seal is replaced, clean the area again, drive normally for a few days, and recheck the same points with the flashlight and cardboard.
Generation and engine notes. Civic engines changed layout across generations, so the first place to look shifts with the model year.
Watch out: Do not crawl under a car supported only by a jack. Use jack stands on level ground, chock the wheels, and let the engine cool before touching exhaust components.
Each diagnosis step has a clear check, a time, and a likely source to note before any part is replaced.
| Step | What to do | Time or frequency |
|---|---|---|
| 1. Confirm fluid type | Check color, feel and smell against engine oil | Before anything else |
| 2. Note drip location | Place clean cardboard under engine overnight | Overnight |
| 3. Check dipstick | Park level, shut off, wait, wipe, reinsert, read | Record mileage |
| 4. Clean the engine | Degrease valve cover, block, pan and filter area | Before the drive test |
| 5. Short drive and recheck | Drive about 10 minutes, then inspect warm but off | About 10 minutes |
| 6. Use UV dye | Add fluorescent dye to oil and check under UV light | When source is unclear |
| 7. Verify the repair | Recheck same points and dipstick after repair | Several hundred miles |
Is It Safe to Drive with an Oil Leak, and What Repairs Cost
A slow seep and an active leak are not the same risk. The decision to drive comes down to how fast the level drops, what the dash is telling you, and whether oil is reaching hot parts.
Stop driving and arrange a tow if you see any of these:
- The oil pressure warning light comes on and stays on
- The dipstick reads at or below the low mark, or the level is too low to read
- You hear knocking, ticking, or rattling from the engine that worsens with RPM
- Heavy blue or gray smoke pours from the engine bay or tailpipe
- Oil is dripping onto the exhaust manifold or downpipe and smoking after shutdown
Those signs point to oil starvation or a fire risk, and continuing to drive can turn a gasket job into an engine replacement. A common pattern is a rear main seal or oil pan leak that drips directly onto hot exhaust plumbing; the burning smell is the warning, and the smoke is the escalation.
How to check the dipstick correctly between drives: Park on level ground, shut the engine off, wait a few minutes for oil to drain back to the pan, pull the dipstick, wipe it clean, reinsert it fully, and read the level.
Repair expectations by leak source. These are typical ranges most independent shops quote for a Civic, and they vary with generation, engine, and access:
- Valve cover gasket: Often the least expensive engine oil leak repair. The part is inexpensive and labor is short because the cover sits on top of the engine. Expect a same-day job.
- Oil pan gasket or reseal: Moderate labor because the pan must come off and the mating surface cleaned. Often a half-day to full-day job depending on whether other components block the pan.
- Front crankshaft seal: Moderate to higher labor because the timing belt or chain area may need to be opened. On engines with a timing belt, this is often bundled with belt service to avoid paying for the same access twice.
- Rear main seal: Usually the most expensive of the common leaks because the transmission must be separated from the engine. Plan for a multi-day job and a correspondingly higher labor bill.
- Oil filter or drain plug: Often the cheapest fix, a new filter, a fresh crush washer, and correct torque. If a quick-lube visit preceded the leak, check this first.
Ask for an itemized estimate that separates parts from labor and lists any related service the shop recommends while access is open.
Watch out: Do not use stop-leak additives as a substitute for diagnosis. They can swell seals temporarily but may clog oil passages or the pickup screen, and they make the true source harder to find later.
Booking Your Oil Leak Inspection at Speedy Roo Motorsports
If you see these signs on your Civic, schedule an inspection before the leak gets worse. Speedy Roo Motorsports works on Honda and other Japanese vehicles. Contact us to schedule an inspection and request a quote.
Frequently Asked Questions
Is it common for Hondas to leak oil?
Oil leaks are common on high-mileage Honda Civics, mostly from aging valve cover gaskets, oil pan gaskets and rear main seals. Gaskets harden and shrink over time, so a leak that starts after 100,000 miles is usually a normal wear item rather than a design defect. Newer Civics leak less, but any model can develop a seep if it has been driven for many years without gasket replacement. Checking the oil level on the dipstick every few fill-ups helps you catch a slow leak early.
Can I drive my Honda Civic if it is leaking oil?
A small seep with a stable oil level on the dipstick is generally safe for short-term driving, but you should schedule an inspection soon. A drip that leaves a puddle, oil on the exhaust, or a burning smell means the leak is worsening and the engine could run low. If the oil light comes on or the level drops noticeably between checks, stop driving and have the car towed or inspected. Running an engine low on oil can cause serious internal damage.
How can I tell if my Honda Civic is leaking oil or another fluid?
Engine oil is typically amber to dark brown and feels slick between your fingers. Coolant is often green, orange or pink and smells sweet, while transmission fluid is reddish or pink and thinner. Place a piece of cardboard under the car overnight, then wipe a drop on a paper towel to compare color and texture. Checking the dipstick and the coolant reservoir levels also helps narrow down the source.
Why is my Honda Civic leaking oil on the passenger side?
On many Civics, the passenger side sits closest to the valve cover and the oil filter, so leaks from the valve cover gasket or filter housing often drip there first. Oil can also travel along the engine block and drip further back, so the visible spot may not be directly under the source. Cleaning the engine, running it briefly and then looking for fresh residue helps pinpoint the exact leak point.